Part of our new master bedroom closet reno was a shoe rack to organize all my shoes and have them off the floor. This was my first DIY by myself and it was a little scary! I always worry about cutting wood the right size, etc. But I had Josh do the first steps to everything so I could learn how to do it in the process and to take pictures of the steps. I mean, how nice would it be for him to come home one day and find the bathroom vinyl replaced to tile?! I’m sure I overwhelm him with projects so I’m trying to learn how to do them on my own and take more pride and appreciation in how things are made.
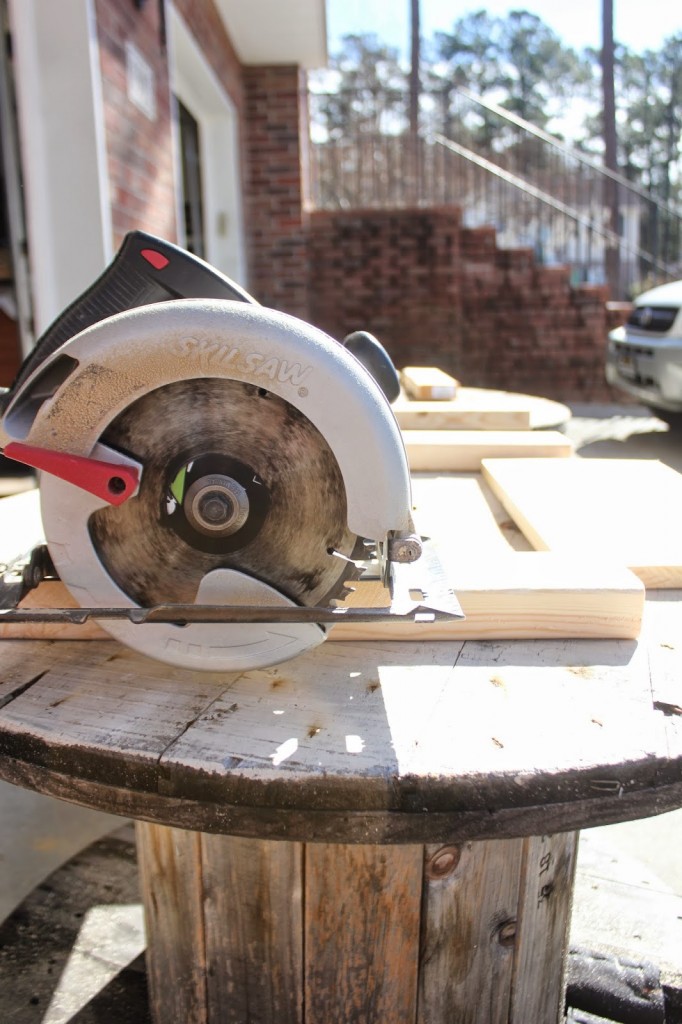
First things first. Measure and get your supplies!
*This shoe rack give you 6 shelfs measuring each 18″ in length. Change number of boards to order if you would like them longer and more of them.
2- 1″ x 10″ x 10″ boards
3- 1″ x 4″ x 10″ boards
nail gun
nails
screws
screwdriver + drill
wood putty
paint + primer
spray paint gun + compressor (optional) or brushes/rollers
saw
wood clue
clamps
Instructions //
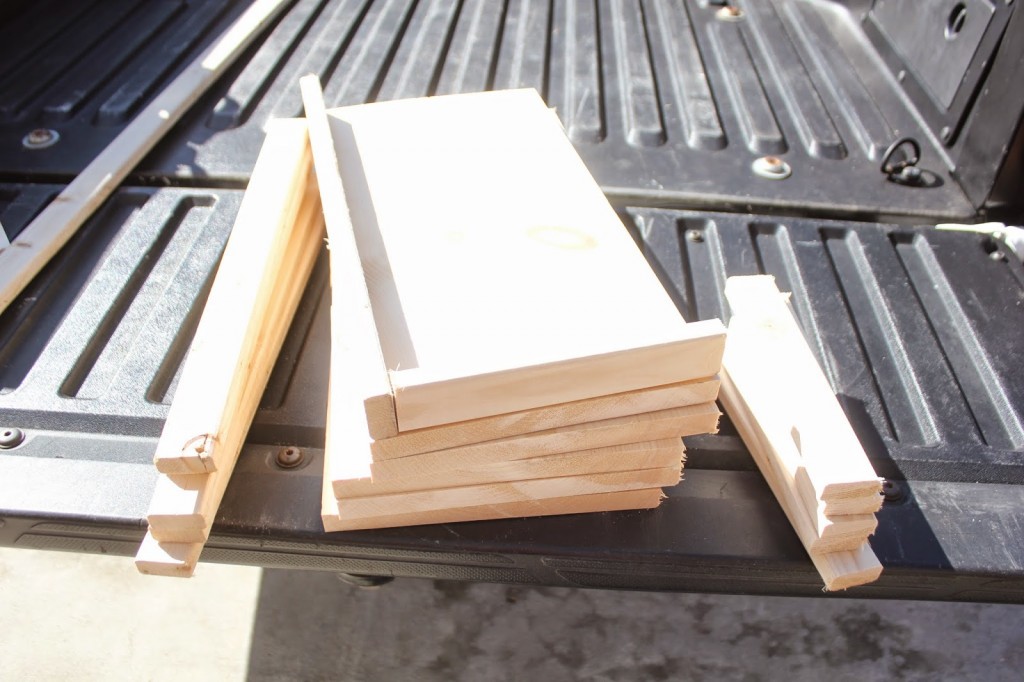
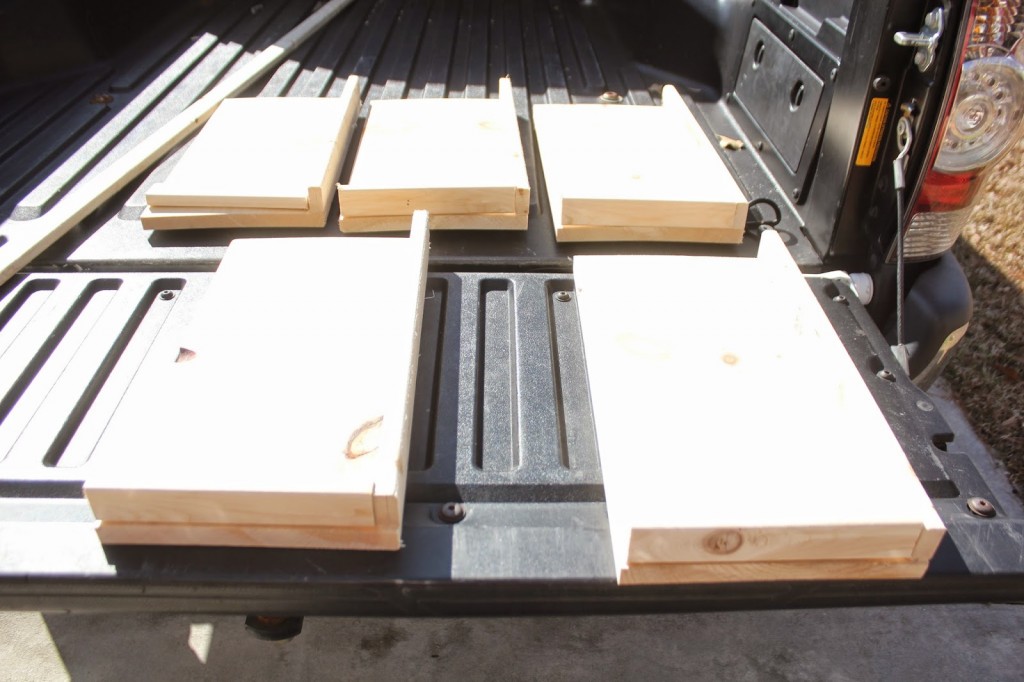
Because of the window in our closet, I could only go as far as 18″ long. So I measured, marked and cut the 2 boards to that length. (6 shelves total). Then do the same to the smaller pieces of wood for the support, cutting six 18 inches and the other six 8 inches long.
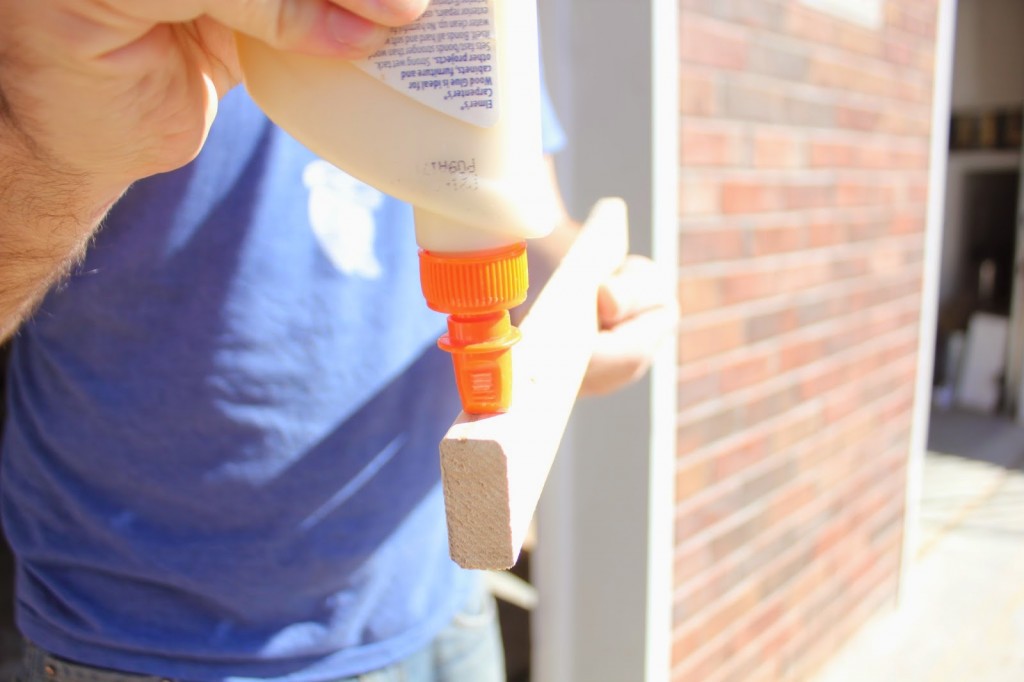
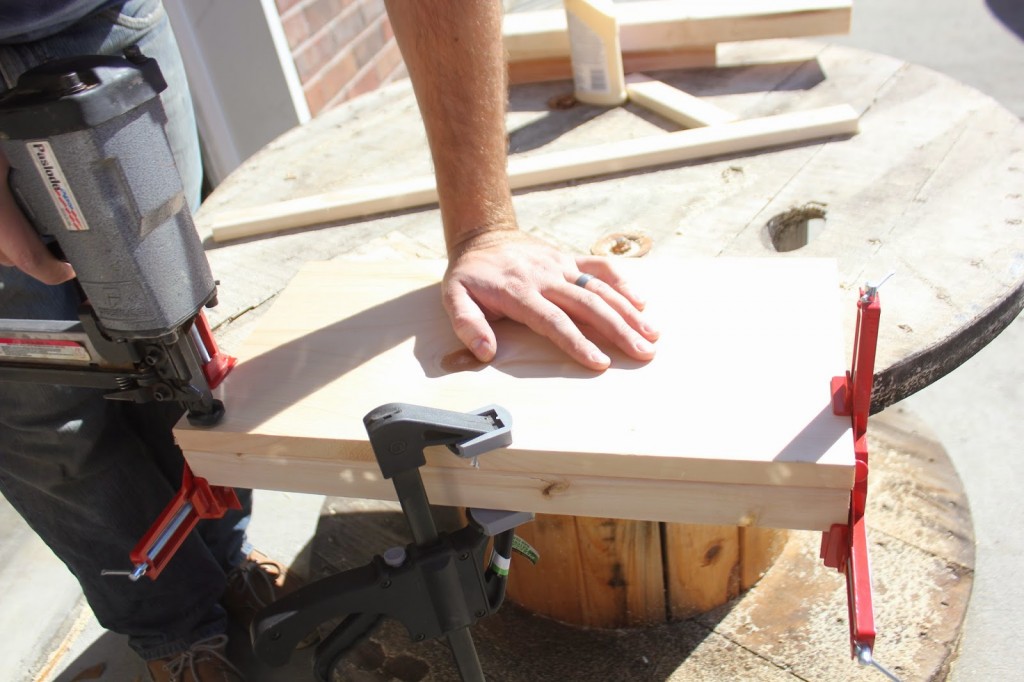
Use wood clue and place it under the larger board.
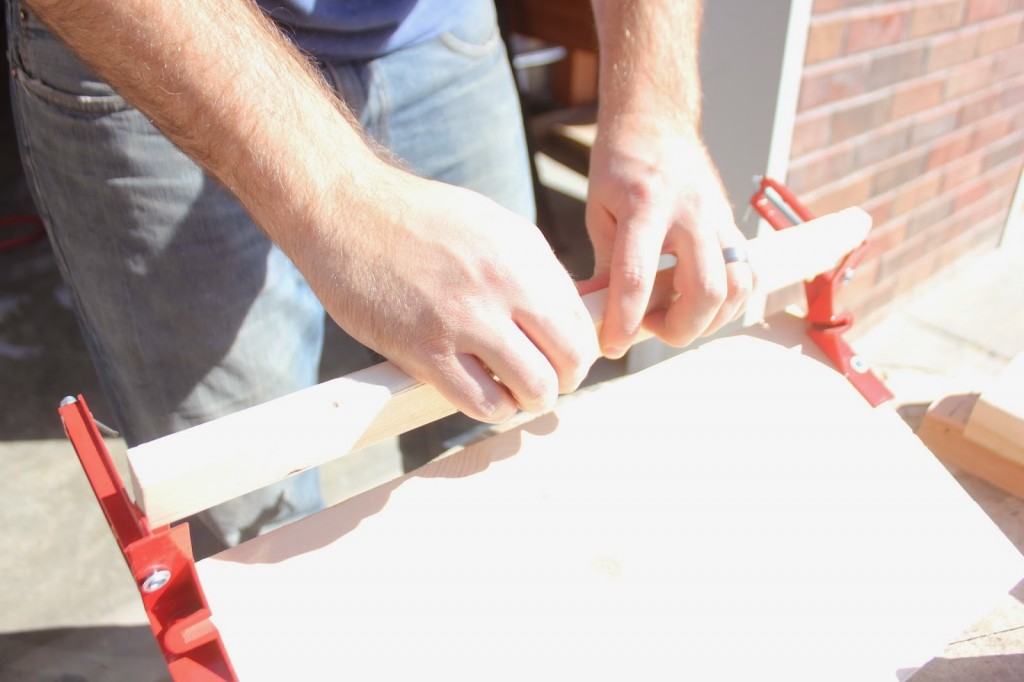
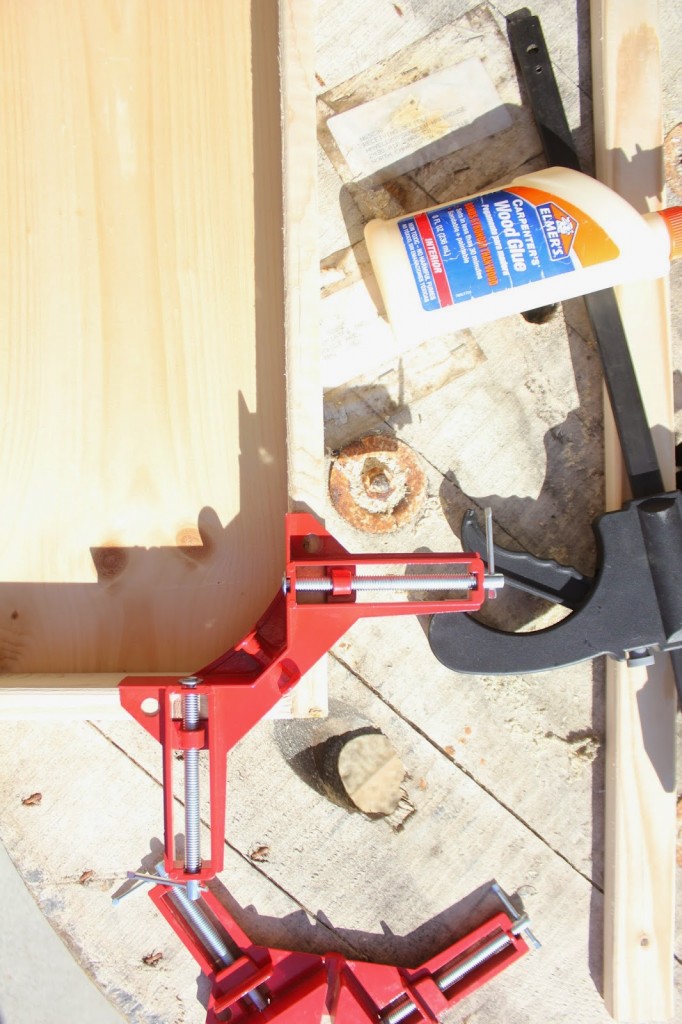
(We used these corner clamps to hold the wood in place while we nailed the two together)
Using a nail gun, nail the boards together! Do this for all 6 shelves.
Now glue the shorter piece to the bottom, use the corner clamp again to hold in place and nail that as well. Do the same for the rest of the shelves.
Whew! Now that that’s done, admire your work and take a break! lol (That’s what I did)
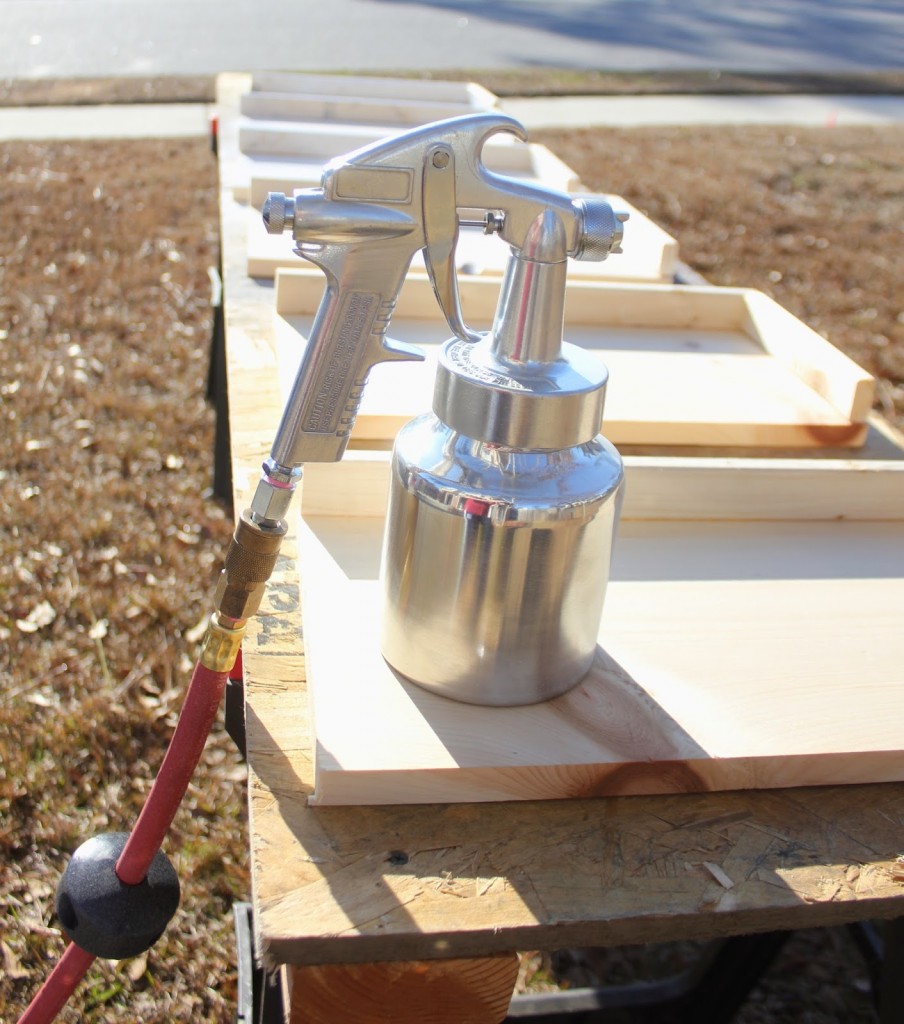
Now for the fun part! I love painting, but after I got Josh his air compressor for Christmas and saw how cheap the spray paint guns were ($25 at Tractor Supply!), I quickly made the purchase and wow was I happy with that decision! It’s so much faster than painting by hand, even the drying time! I wouldn’t have finished painting one with a brush in the time I painted the front of the entire 6 shelves..
This is after JUST priming them using Killz. I diluted the paint just a little and only gave it 2 coats. Worked like a charm 🙂
Then I gave it another coat of regular white satin paint (semi-gloss would have been better for cleaning purposes I’m sure, but I didn’t have it)
…….
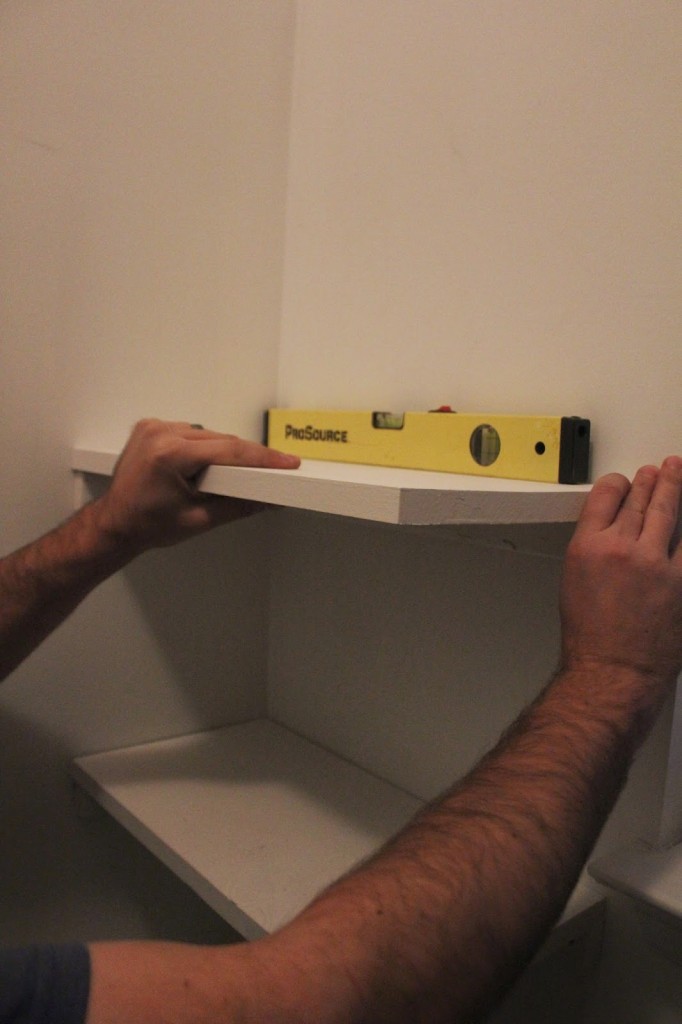
(Sorry these pictures aren’t great!) I wasn’t feeling a 100% confident in my leveling skills so Josh had to take over here, but I first made pencil marks every 12″ from the ground up for the 6 shelves. Then found the studs and made marks on the wall for those as well so I knew where to screw them in.
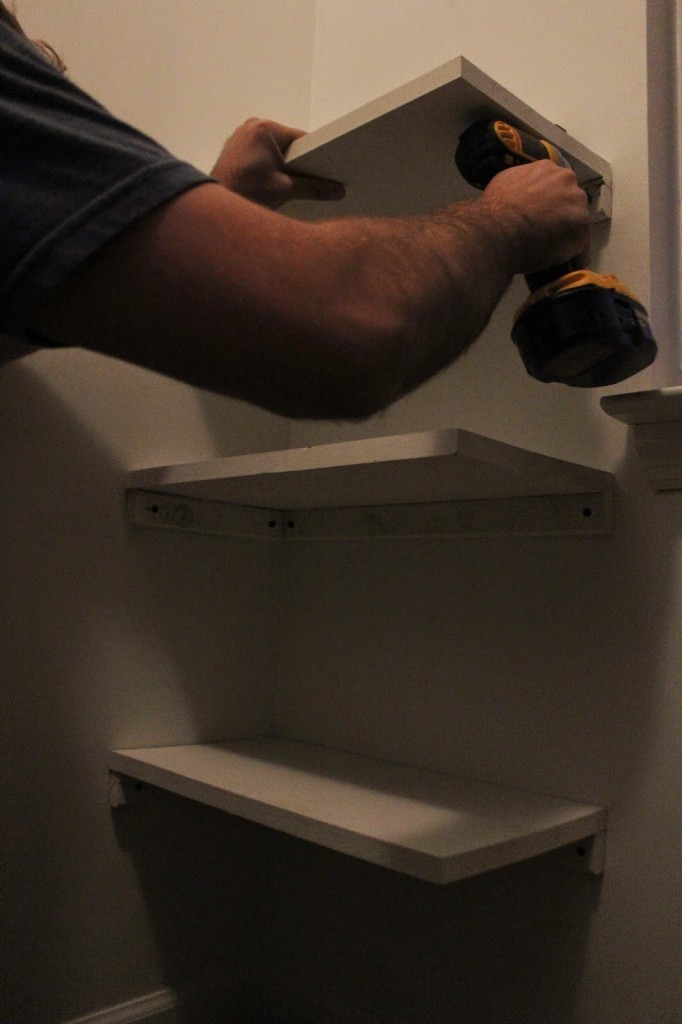
After you mark the walls, aline a shelf and mark the shelf with where to drill the hole (Be sure to drill a whole in your shelf support first before screwing into the wall. It will crack the board!)
Level the shelf with the marks you made on the wall and start screwing in!
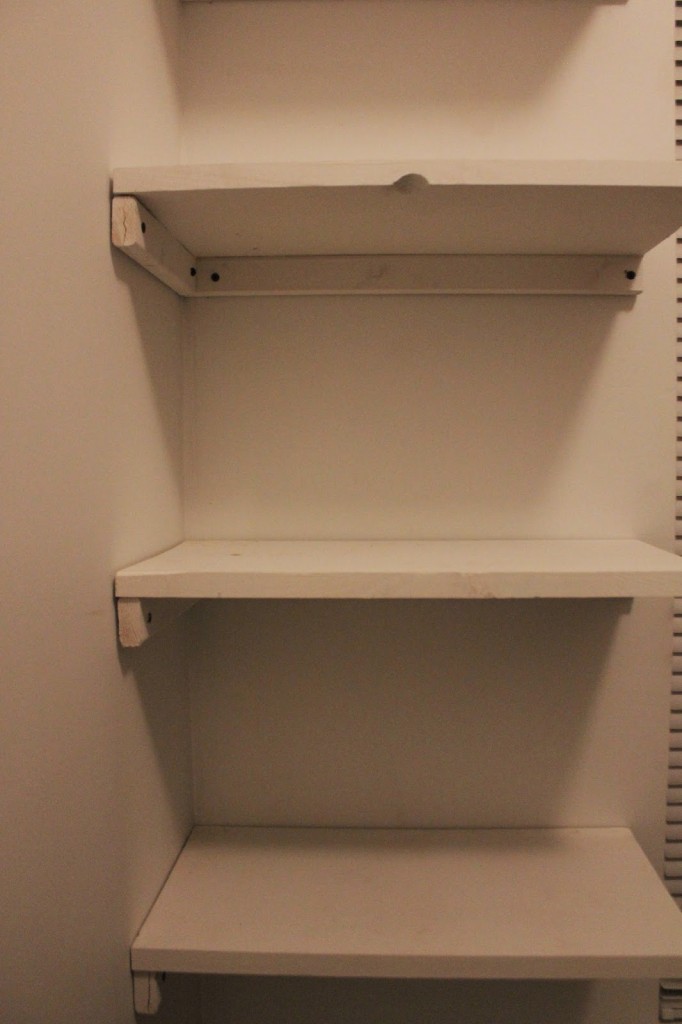
After they were all screwed in, I went back and puttied the screws as well as painting them so you couldn’t see them.
I waited until the next morning to put the shoes on just incase the paint needed time to cure. Didn’t want paint on the shoes!
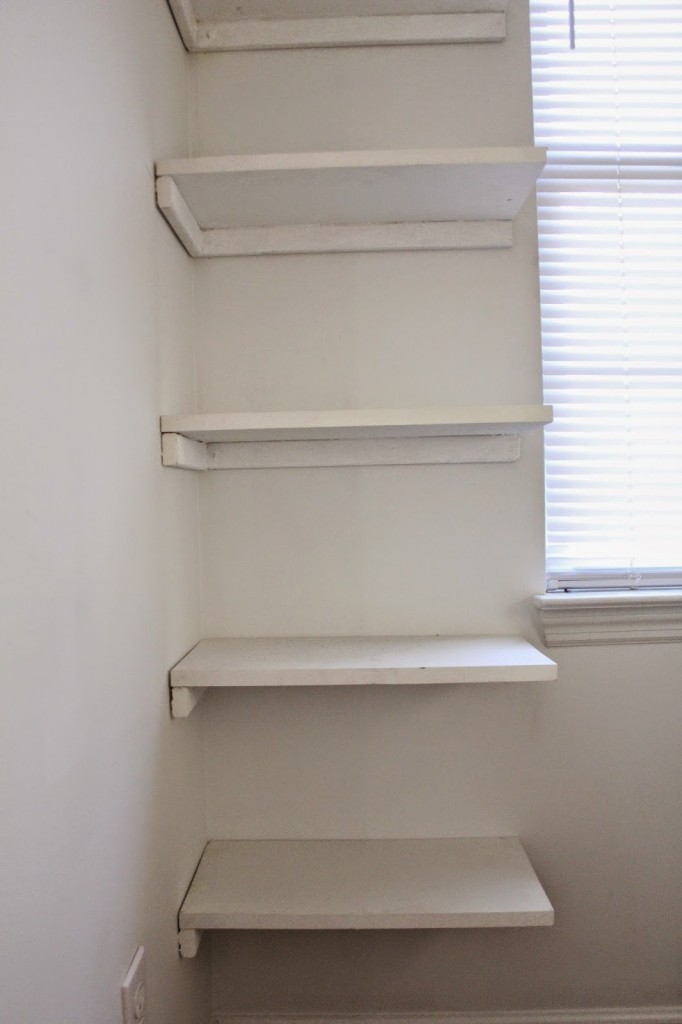
And here it is! Not perfect and some of my shoes are a little dirty (sorry!), but hey, they’re off the floor now and the closet space is much bigger now!!
Hope you guys enjoyed this little tutorial and stay tuned for the final look of the closet!
Stay In Touch!
Collaborations, Media and General Inquiries please visit my Contact page.


That's a cool idea! Thanks for sharing!
This is such a great idea!
http://www.lifeandchanel.com